Home / Planning Seams With the Slab Layout
Planning Seams With the Slab Layout
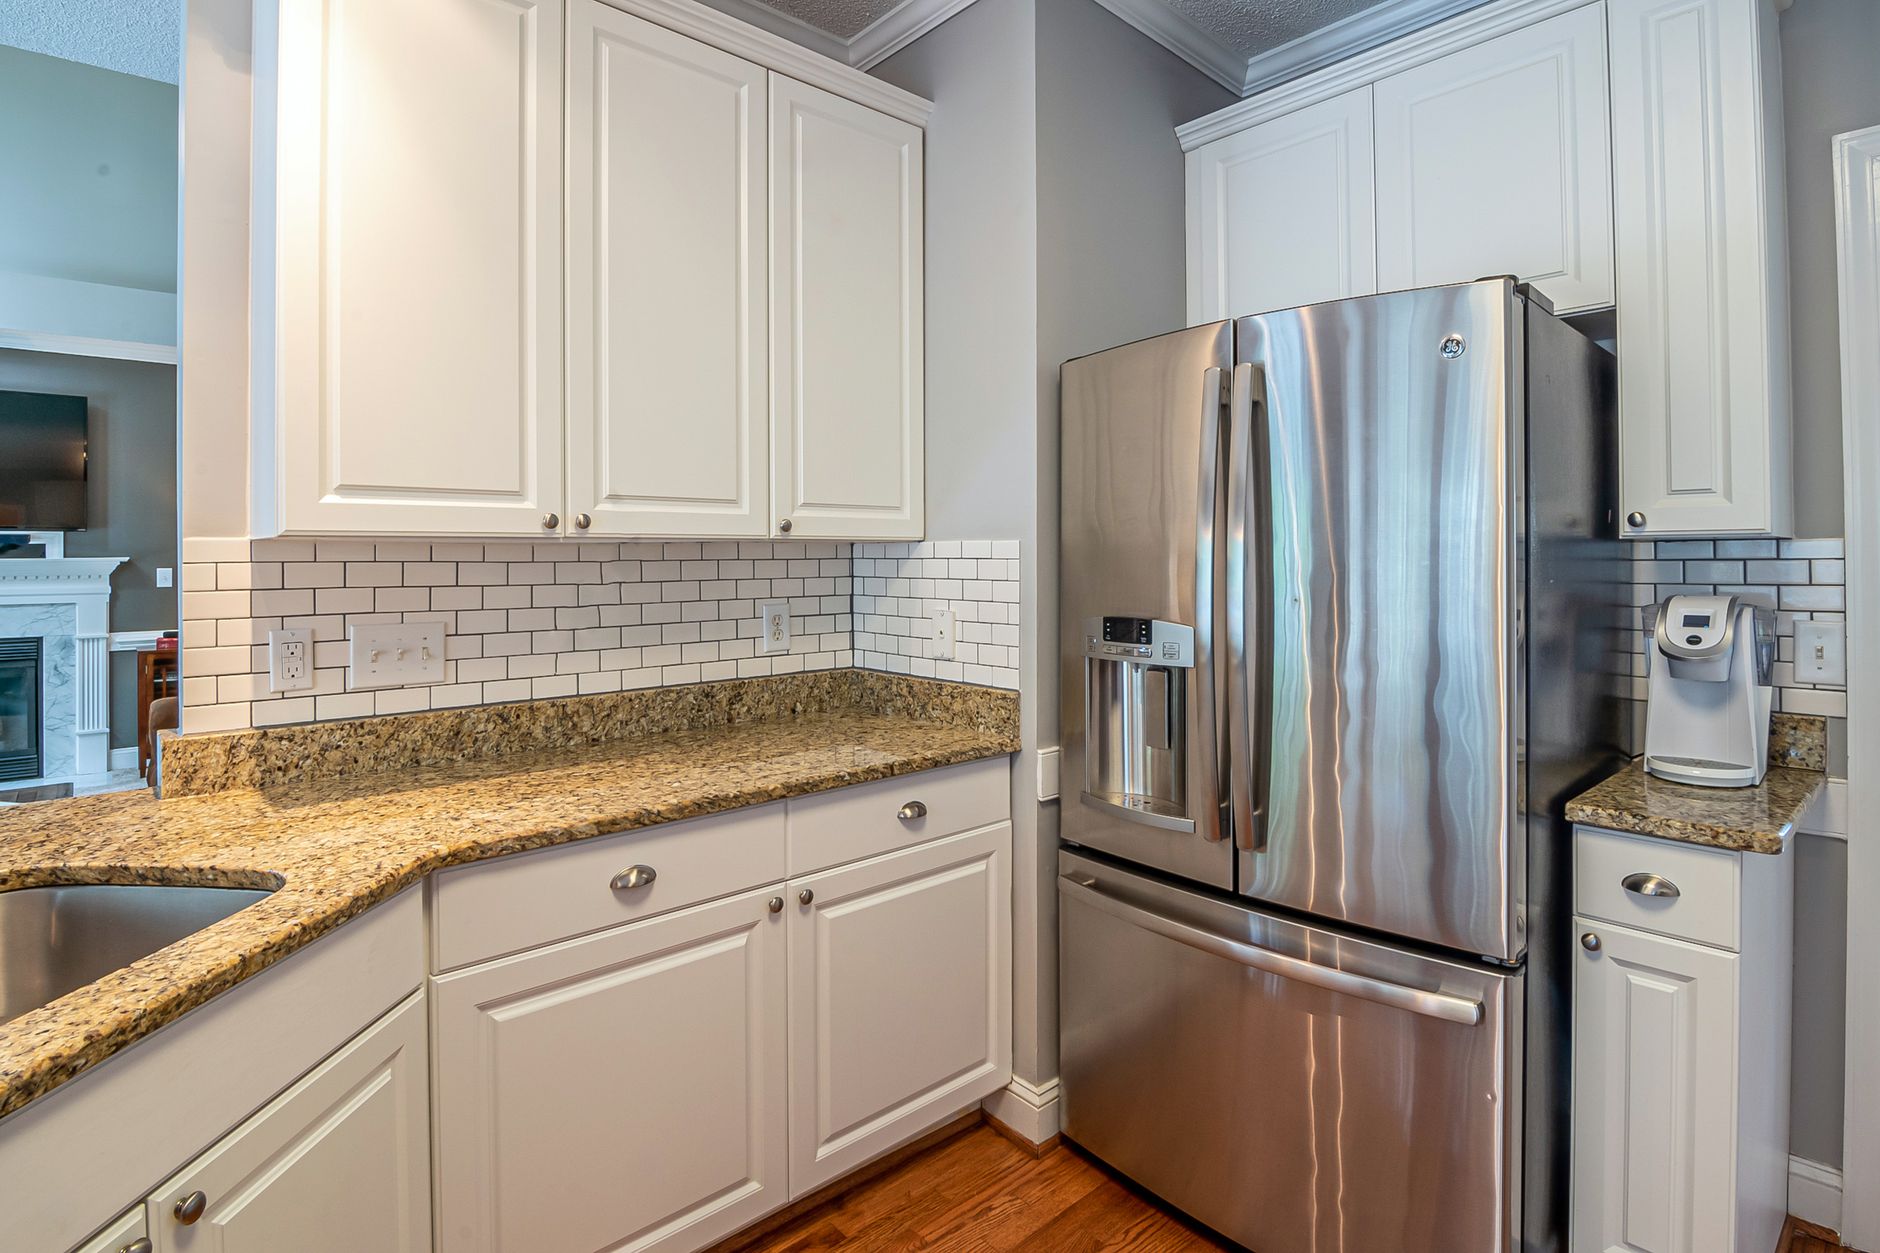
Understanding the Relationship Between Slab Size and Seam Placement
When you select natural stone or engineered surfaces for a kitchen or bathroom, the physical dimensions of the material dictate much of the design process. Slabs arrive in large, rectangular sheets, but they are rarely large enough to cover an entire continuous countertop or island without interruption. This necessity leads to the creation of seams. A seam is the joint where two pieces of stone meet. Planning where these joints fall is a critical step in the layout process because the placement affects both the visual flow of the stone and the structural integrity of the installation.
A successful layout requires a balance between practical installation needs and aesthetic preferences. If you ignore the layout during the initial design phase, you may end up with a seam in a highly visible area, such as directly in front of a sink or across a main walkway. By thinking about the slab dimensions early, you can minimize the impact of these joints.
The Impact of Slab Dimensions
Every slab has a maximum length and width. While some materials offer larger formats, most standard slabs have limits that prevent them from spanning long, L shaped counters or massive kitchen islands in one piece. When a project exceeds these dimensions, the fabricator must cut the material into smaller sections. The goal is to use the available surface area efficiently while ensuring the pieces fit together seamlessly.
Slab size limits influence several factors:
- The number of joints: Larger slabs generally mean fewer seams.
- Waste management: Smaller pieces cut from a large slab can sometimes be used for backsplashes or bathroom vanities, but awkward cuts can lead to leftover material that cannot be used elsewhere.
- Weight distribution: Large, heavy pieces require careful handling and support during the installation process.
Matching Veins and Patterns
One of the most important aspects of planning seams is considering the pattern of the stone. Natural stones like marble or certain quartzites feature veins that travel across the surface in organic, unpredictable paths. If you are using a material with a heavy or directional pattern, the way the pieces meet at a seam becomes much more noticeable.
There are two primary ways to handle patterns at a seam:
- Bookmatching: This technique involves taking two adjacent slabs that were cut from the same block and flipping them so the veins mirror each other. This creates a symmetrical, high end look, but it requires precise planning and often uses more material.
- Continuous Veining: This approach attempts to line up the veins so they appear to flow from one piece into the next without a break in the pattern. This is difficult to achieve if the seam is placed at a sharp angle or in a complex corner.
If the stone has a very subtle, uniform pattern, seam placement is less of a visual concern. However, with heavily veined or "movement" heavy materials, a poorly placed seam can look like a mistake rather than a natural part of the design. You should always request a template or a digital layout to see how the veins will align before any permanent cuts are made.
Strategic Seam Placement
The location of a seam should be chosen based on visibility and functionality. Certain areas of a countertop are more forgiving than others. For example, a seam located near a sink or a cooktop is often less noticeable because the hardware and the faucet break up the visual line of the stone. A seam that runs straight across the front edge of a long island, however, will be very prominent to anyone standing in the room.
Consider these common placement strategies:
- The Sink Cutout: Placing a seam at the back or front of a sink cutout can hide the joint within the natural shadows and edges of the plumbing fixtures.
- Corner Transitions: In L shaped kitchens, seams are often placed at the corner. While this is a standard practice, it is important to ensure the corner is reinforced to prevent cracking.
- The Mitered Joint: For thick looking edges, a mitered joint can be used where two pieces meet at a forty five degree angle. This creates a continuous look for the edge profile but requires extremely tight tolerances.
Practical Considerations for Homeowners
When reviewing a slab layout, you should look for practical issues that go beyond just how the stone looks. A seam that is placed in a high stress area, such as where a heavy appliance sits or where the countertop is unsupported, may be more prone to movement over time. Ensure that the layout respects the structural requirements of your cabinetry.
You should also be aware of how the direction of the grain affects the installation. If the stone has a distinct direction, all pieces must be cut in the same orientation. If one piece is rotated to fit a specific space, the pattern will clash with the rest of the countertop, making the seam impossible to hide. Always verify that the proposed layout follows a consistent grain direction across the entire surface.