Home / Visiting a Stone Slab Yard
Visiting a Stone Slab Yard
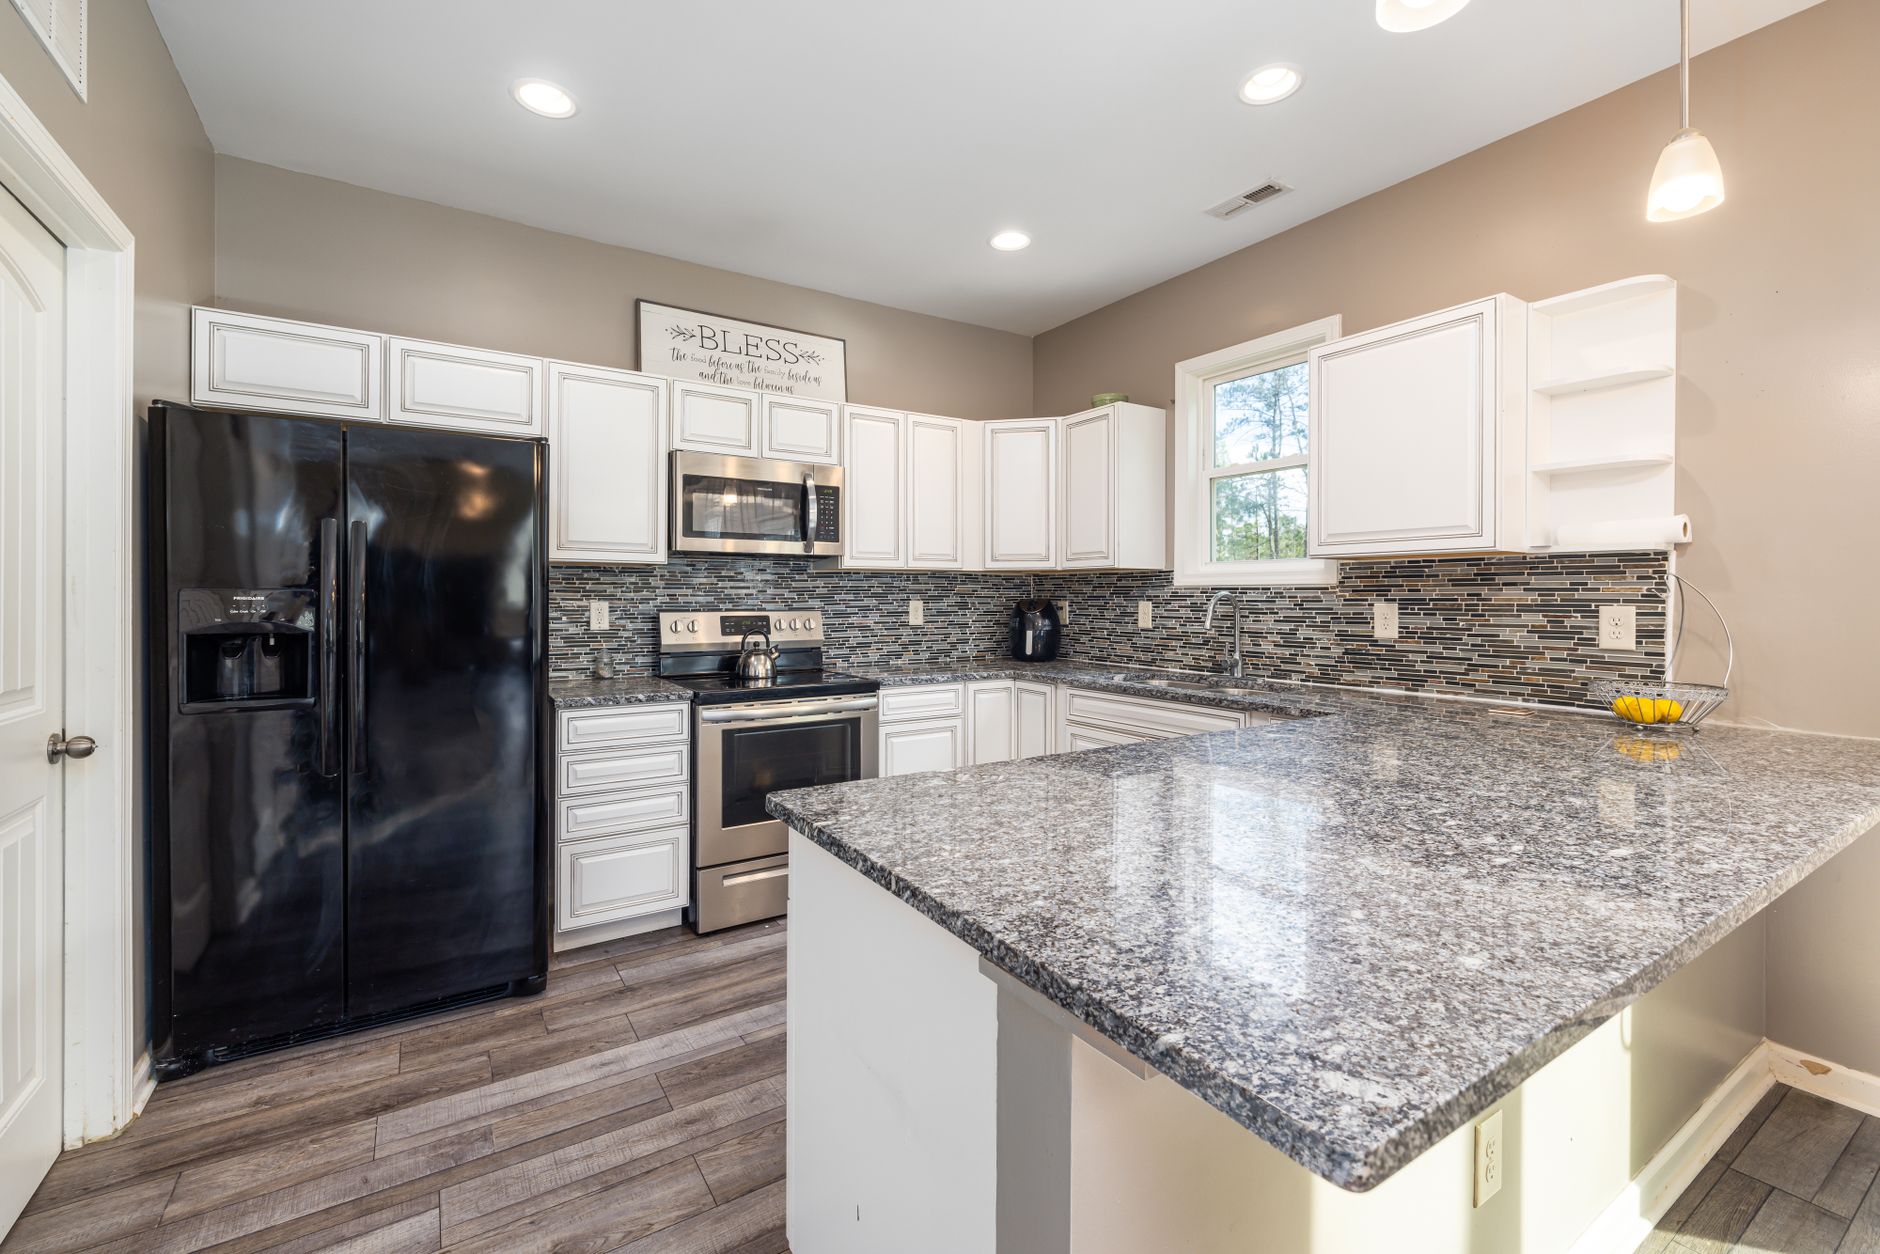
Preparing for a Visit to a Stone Slab Yard
Selecting natural stone or engineered surfaces for a kitchen or bathroom is a significant step in a home improvement project. Unlike choosing a pre-cut tile or a small sample, selecting a slab involves viewing massive pieces of material that may vary significantly in color, pattern, and texture. A visit to a slab yard allows for a physical inspection that digital screens cannot replicate. Preparation ensures that the trip is productive and that the chosen material meets the aesthetic and functional needs of the home.
For more local guides, see buncombe county custom countertops files.
Before leaving for the yard, gather all necessary measurements. While you do not need the exact cutting list for every corner, having the general dimensions of the countertops, islands, and backsplashes helps in understanding how much material is required. Knowing the approximate square footage helps in determining if a single slab will suffice or if multiple slabs are needed to account for pattern matching. It is also helpful to have photos of the existing kitchen or bathroom, including the cabinetry, flooring, and wall colors. This provides a visual reference point when comparing the stone to the surrounding environment.
Essential Items to Bring
A trip to a stone yard is a visual and tactile experience. Bringing the right tools can prevent mistakes that might only be discovered after the stone is installed. Consider packing the following items:
- Physical Samples: If you have already selected cabinet doors, flooring samples, or backsplash tiles, bring them with you. Stone does not exist in a vacuum. A slab that looks perfect in isolation might clash with the undertones of the cabinetry.
- A High Quality Camera: Digital photos are necessary for later comparison. Take photos of the entire slab, but also take close up shots of specific veins or interesting mineral deposits.
- A Note Pad and Pen: You will likely see many slabs in a single session. Writing down the specific identification numbers or names of the slabs prevents confusion later.
- A Flashlight: Slab yards are often large, industrial spaces. Some areas may be dimly lit, and a flashlight can help you see the depth of the texture or the subtle shimmer in certain minerals.
The Importance of Viewing Full Slabs
It is common to look at small samples in a showroom before visiting a larger warehouse. However, small samples can be deceptive. A small piece of granite or marble might show a consistent color, but the full slab might contain large dramatic veins, heavy inclusions, or significant color shifts. These variations are part of the natural beauty of the stone, but they must be accounted for during the design phase.
Checking for Consistency and Movement
When standing in front of a full slab, look for the movement of the pattern. Movement refers to the way the veins or colors flow across the surface. In high end stones, these veins can be quite large. You should examine how the pattern will transition from one countertop section to another. If the project involves an island and a perimeter counter, you must consider if the pattern will look continuous or if the break between pieces will be jarring.
Inspect the edges and corners of the slab. While most fabrication processes involve cutting the stone to size, the raw slab may have natural fissures or small chips along the perimeter. While these are often trimmed away during fabrication, seeing the overall integrity of the slab provides peace of mind. You should also look for any unexpected spots of discoloration that might not be apparent in a small sample.
Understanding Slab Dimensions
Every slab has a different width and length. When viewing the material, pay attention to the usable area. Some slabs may have irregular edges or areas where the pattern is less desirable. Understanding the actual dimensions of the piece you select is vital for the fabrication process. If a slab is slightly smaller than expected, it could impact the ability to create a seamless island or a long backsplash.
Tagging and Securing Your Selection
Once a slab is identified as the preferred choice, the process of securing it must be handled carefully. Slab yards operate on a high volume basis, and many customers may be viewing the same inventory. It is important to follow the specific procedures of the yard to ensure the material is set aside for your project.
The Tagging Process
Most yards use a tagging system to identify which piece belongs to which customer. This tag usually contains a unique identification number that corresponds to the specific block of stone. When you find a slab you love, notify the staff immediately. They will place a physical tag on the slab or enter the slab number into their inventory system. This prevents another customer from selecting the same piece while you are finalizing other details of your project.
Ensure that you receive a record of the slab identification. This number is the most important piece of information for the fabricator. If the slab is not properly documented, there is a risk that a different slab with a similar appearance could be sent to the shop, leading to unexpected differences in the final installation.
Verifying Slab Availability
Confirm that the slab is currently in stock and not part of a pending shipment. Sometimes, a slab may be listed in a catalog but is currently being moved or is part of a different order. Verifying the physical presence of the slab ensures that your project timeline remains on track. Once the slab is tagged, ask about the specific storage conditions to ensure it is kept in a safe, dry environment until it is ready for transport.
Managing Lighting Differences
One of the most common challenges in stone selection is the discrepancy between yard lighting and home lighting. Slab yards typically use high intensity overhead lighting, often in industrial settings. This lighting is designed to show the stone clearly, but it is rarely identical to the lighting in a residential kitchen or bathroom.
The Impact of Color Temperature
Lighting is categorized by color temperature. Some environments use cool, blue toned lights, while others use warm, yellow toned lights. A slab that looks bright and crisp under cool warehouse lights might look much darker or more muted under warm LED bulbs in a home. If you know the type of lighting you plan to use in your home, try to account for that during your visit. If you are unsure, it is often safer to assume the stone will appear slightly different once installed.
Natural Light versus Artificial Light
Natural sunlight can drastically change the appearance of stone. A slab with heavy gold veining might glow beautifully in a sunlit breakfast nook, but that same gold might appear dull or brownish in a dimly lit basement bar. If possible, view the slab from multiple angles. Move around the piece to see how light hits the surface. This helps you identify how much light reflection or "gloss" the stone will produce. Some stones have a polished finish that reflects a great deal of light, while honed or matte finishes absorb it. Understanding this interaction is essential for achieving the desired mood in a room.
If you are selecting a stone for a dark area, such as a laundry room or a small powder room, be extra cautious. A stone that looks vibrant in a large, open warehouse might feel heavy or oppressive in a small, enclosed space. Taking your photos and comparing them to your home lighting settings can help mitigate these risks. Always remember that the stone is a permanent addition to your home, so spending the extra time to observe it under various conditions is a wise investment in the final result.